How to Hatch Chickens Yourself at Home
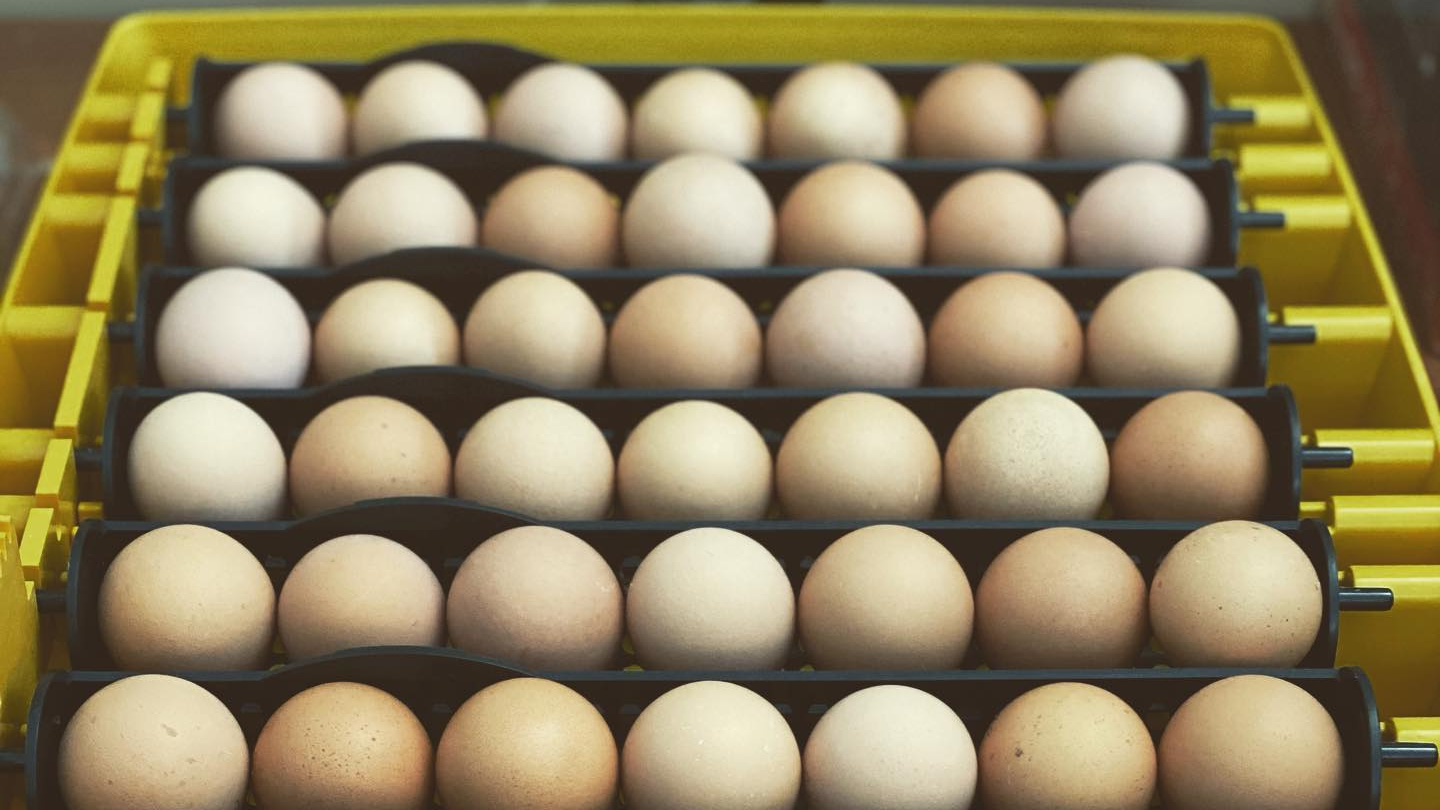
Hatching chickens in an incubator is a rewarding and educational experience that allows you to witness the miracle of life up close. Whether you're a curious hobbyist or a budding farmer, successfully hatching chicks at home requires careful attention, proper equipment, and a bit of patience. In this step-by-step guide, we'll walk you through the process of hatching chickens in an incubator, from setting up the equipment to caring for the newly hatched chicks.
Step 1: Gather Necessary Equipment
Before embarking on your hatching journey, gather the following equipment:
- Incubator: Choose a reliable incubator with adjustable temperature and humidity controls.
- Thermometer and Hygrometer: Ensure accurate temperature and humidity readings.
- Egg Turner: This accessory automates the process of rotating eggs, ensuring even development.
- Fertile Eggs: Purchase eggs from a reputable source, ensuring they are fresh and fertile.
- Flashlight or Egg Candler: Used to monitor embryo development and detect any issues.
Step 2: Set Up the Incubator
Location: Place the incubator in a draft-free area away from direct sunlight and temperature fluctuations.
Clean and Sterilize: Thoroughly clean and sterilize the incubator before use to prevent contamination.
Temperature and Humidity: Follow the manufacturer's instructions to set the appropriate temperature (usually around 99.5°F or 37.5°C) and humidity (typically 50-60% for days 1-18 and 65-75% for days 19-21).lay
Calibration: Verify the accuracy of the thermometer and hygrometer using a secondary thermometer.
Step 3: Prepare the Eggs
Egg Selection: Choose fresh, clean, and fertile eggs with intact shells. Avoid eggs with cracks or deformities.
Storage: Store eggs at room temperature (around 50-65°F or 10-18°C) with the pointed end down for 24 hours before placing them in the incubator. This allows the air cell to stabilize.
Step 4: Load the Incubator
Egg Positioning: Place the eggs in the egg turner or directly on the incubator's racks, making sure the pointed ends are slightly elevated.
Egg Turner: If using an egg turner, ensure it is properly aligned and functioning. The egg turner will automatically rotate the eggs to prevent sticking of the embryo to the shell.
Step 5: Incubation and Monitoring
Daily Check: Monitor the temperature and humidity levels multiple times a day. Make slight adjustments if necessary.
Candling: On days 7 and 14, use an egg candler to check embryo development. Look for signs of veins and a dark area indicating a developing embryo.
Step 6: Lockdown Period
Stop Turning: On day 18, stop the egg turner and increase humidity to simulate the natural conditions during hatching.
Prepare for Hatching: Lay a clean, damp sponge in the incubator to increase humidity. Ensure the eggs have enough space for chicks to hatch.
Step 7: Hatching
Pip and Zip: Around day 21, chicks will start "pipping" (breaking the shell) and "zipping" (making a circular cut to hatch).
Hands-Off Approach: Avoid assisting chicks during hatching unless absolutely necessary. Chicks need to exert effort to strengthen their muscles.
Step 8: Post-Hatching Care
Dry and Fluffy: Once hatched, chicks will be wet and tired. Allow them to dry naturally and gain strength under the incubator's warmth.
Transfer to Brooder: After a few hours, gently transfer the dry chicks to a clean, warm brooder with appropriate bedding, heat source, and access to food and water.
Conclusion
Hatching chickens in an incubator at home is a remarkable experience that requires careful preparation, observation, and patience. By following this step-by-step guide, you can create a controlled environment that mimics the natural incubation process, ultimately leading to the successful hatching of healthy and vibrant chicks. Remember, each hatching journey is unique, so be prepared to learn and adapt as you embark on this rewarding endeavor. Happy hatching!